BoardBuddy
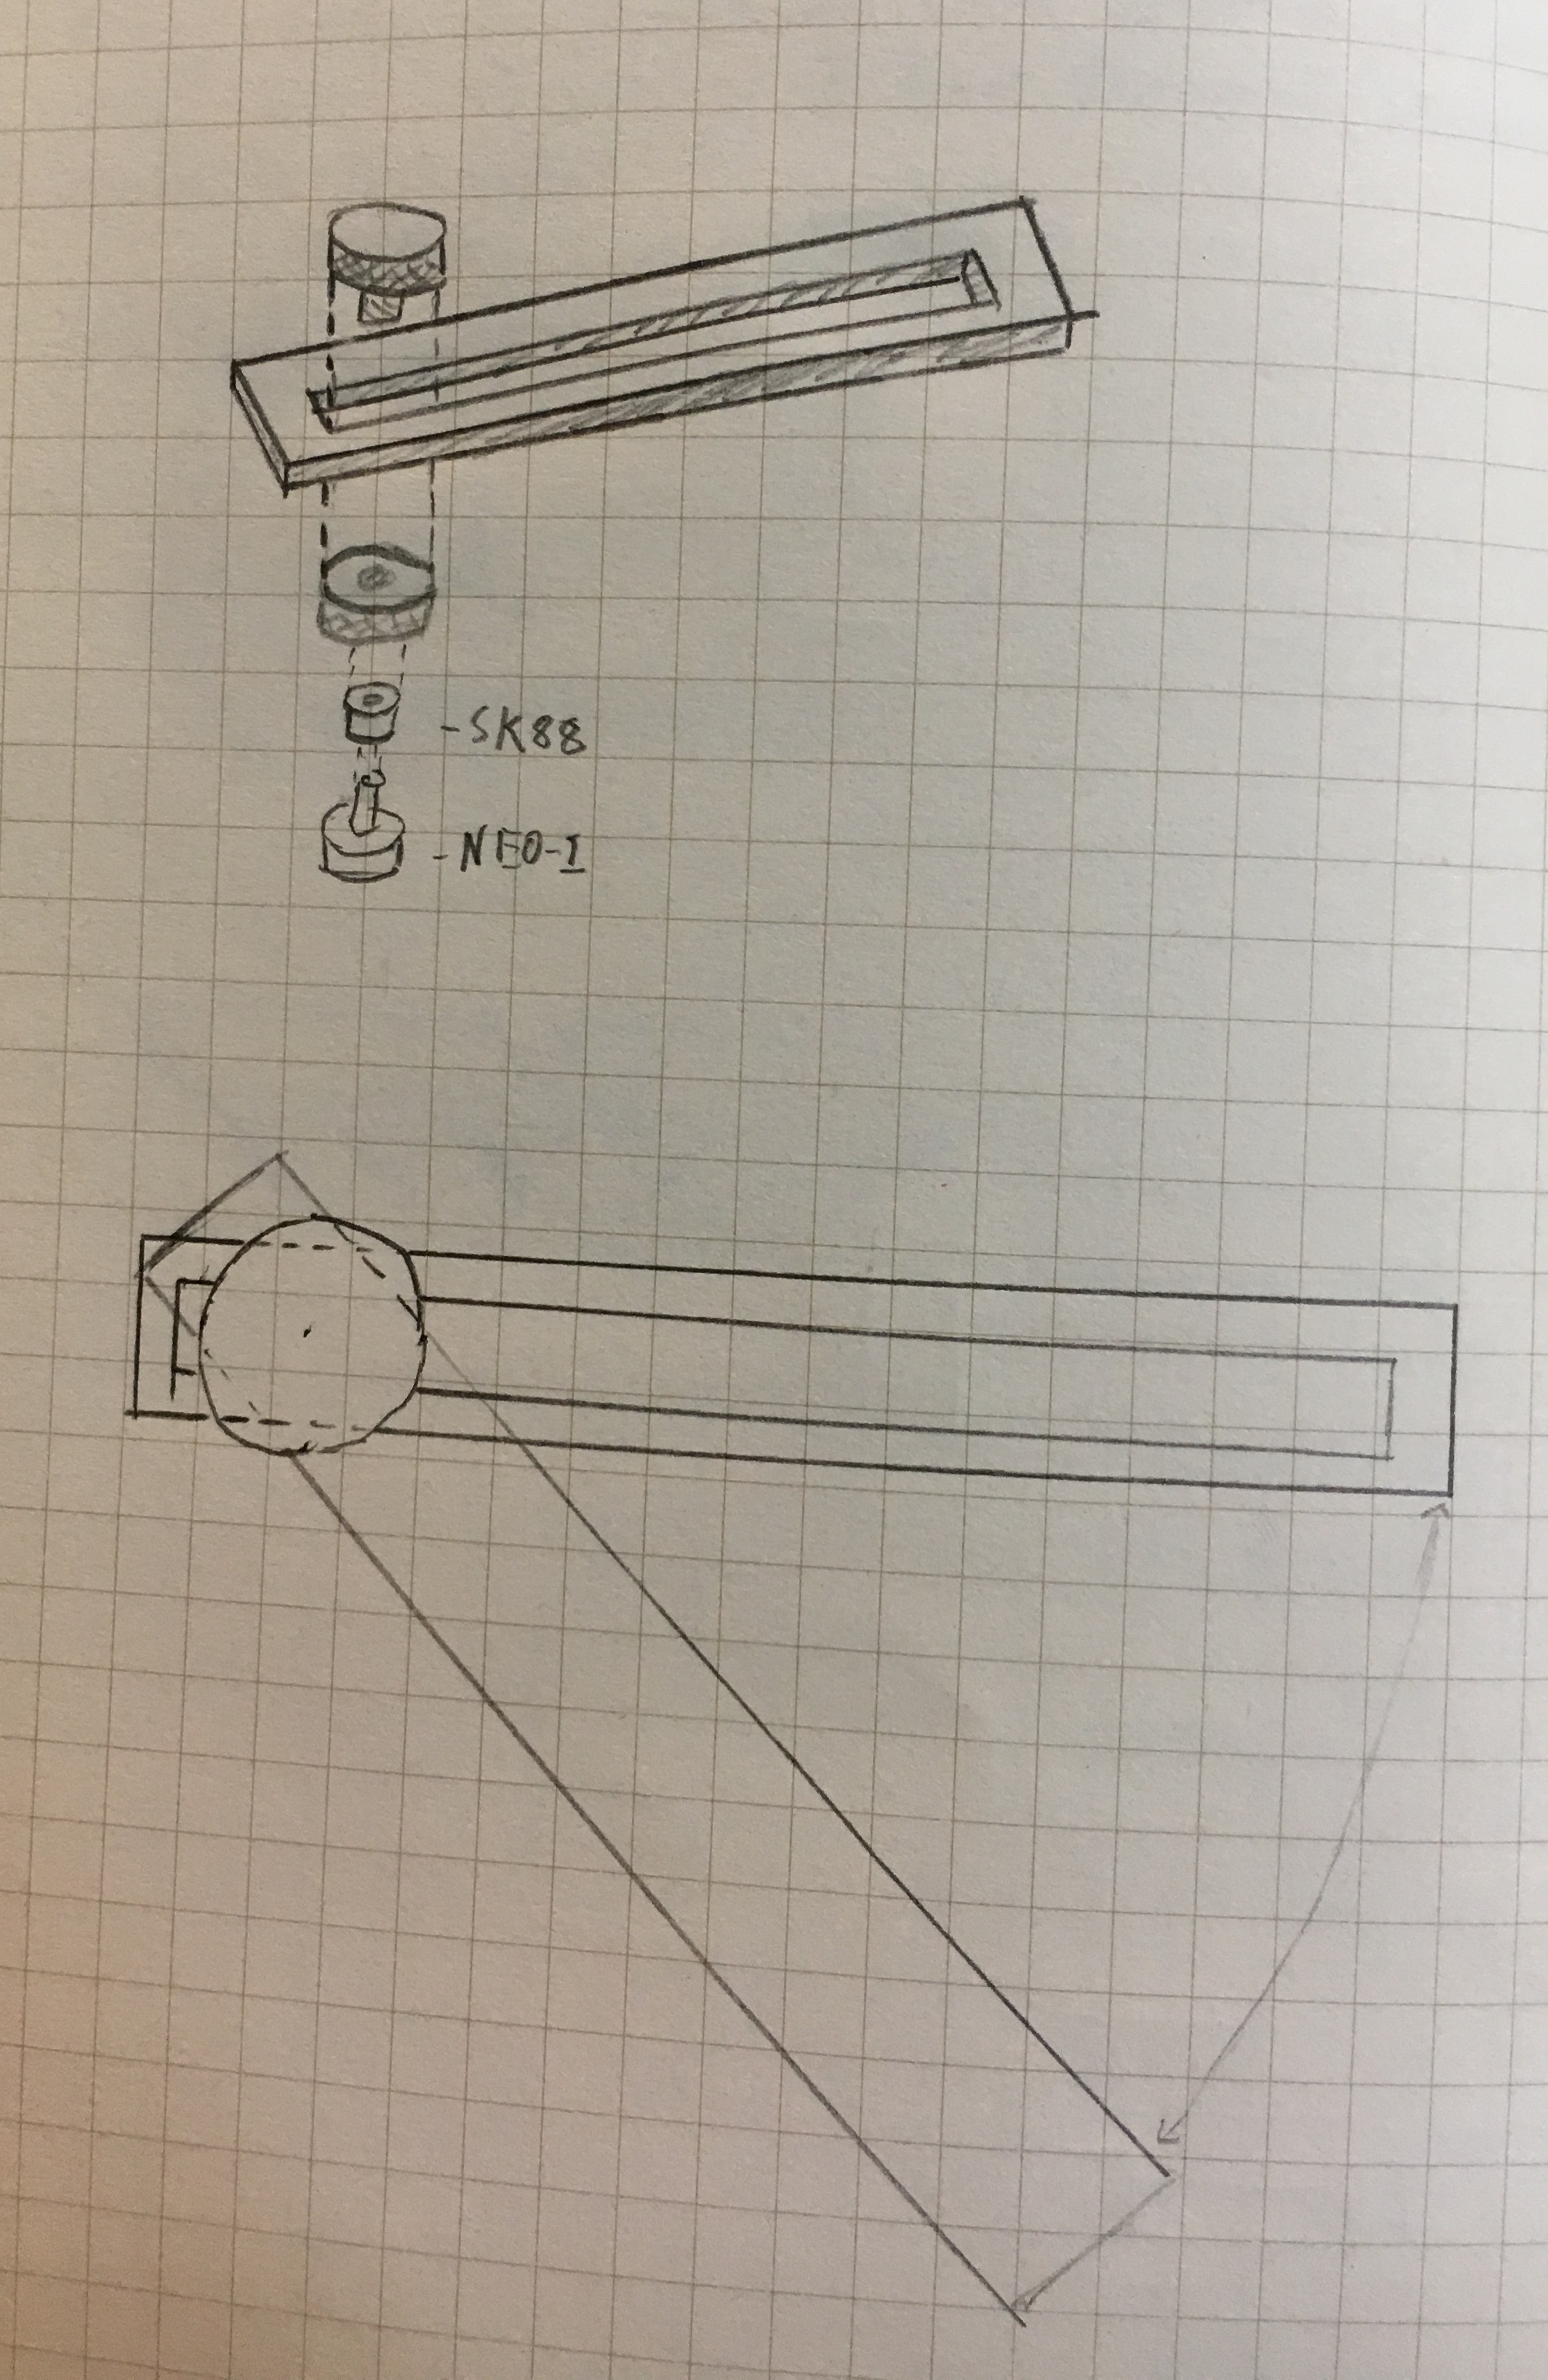
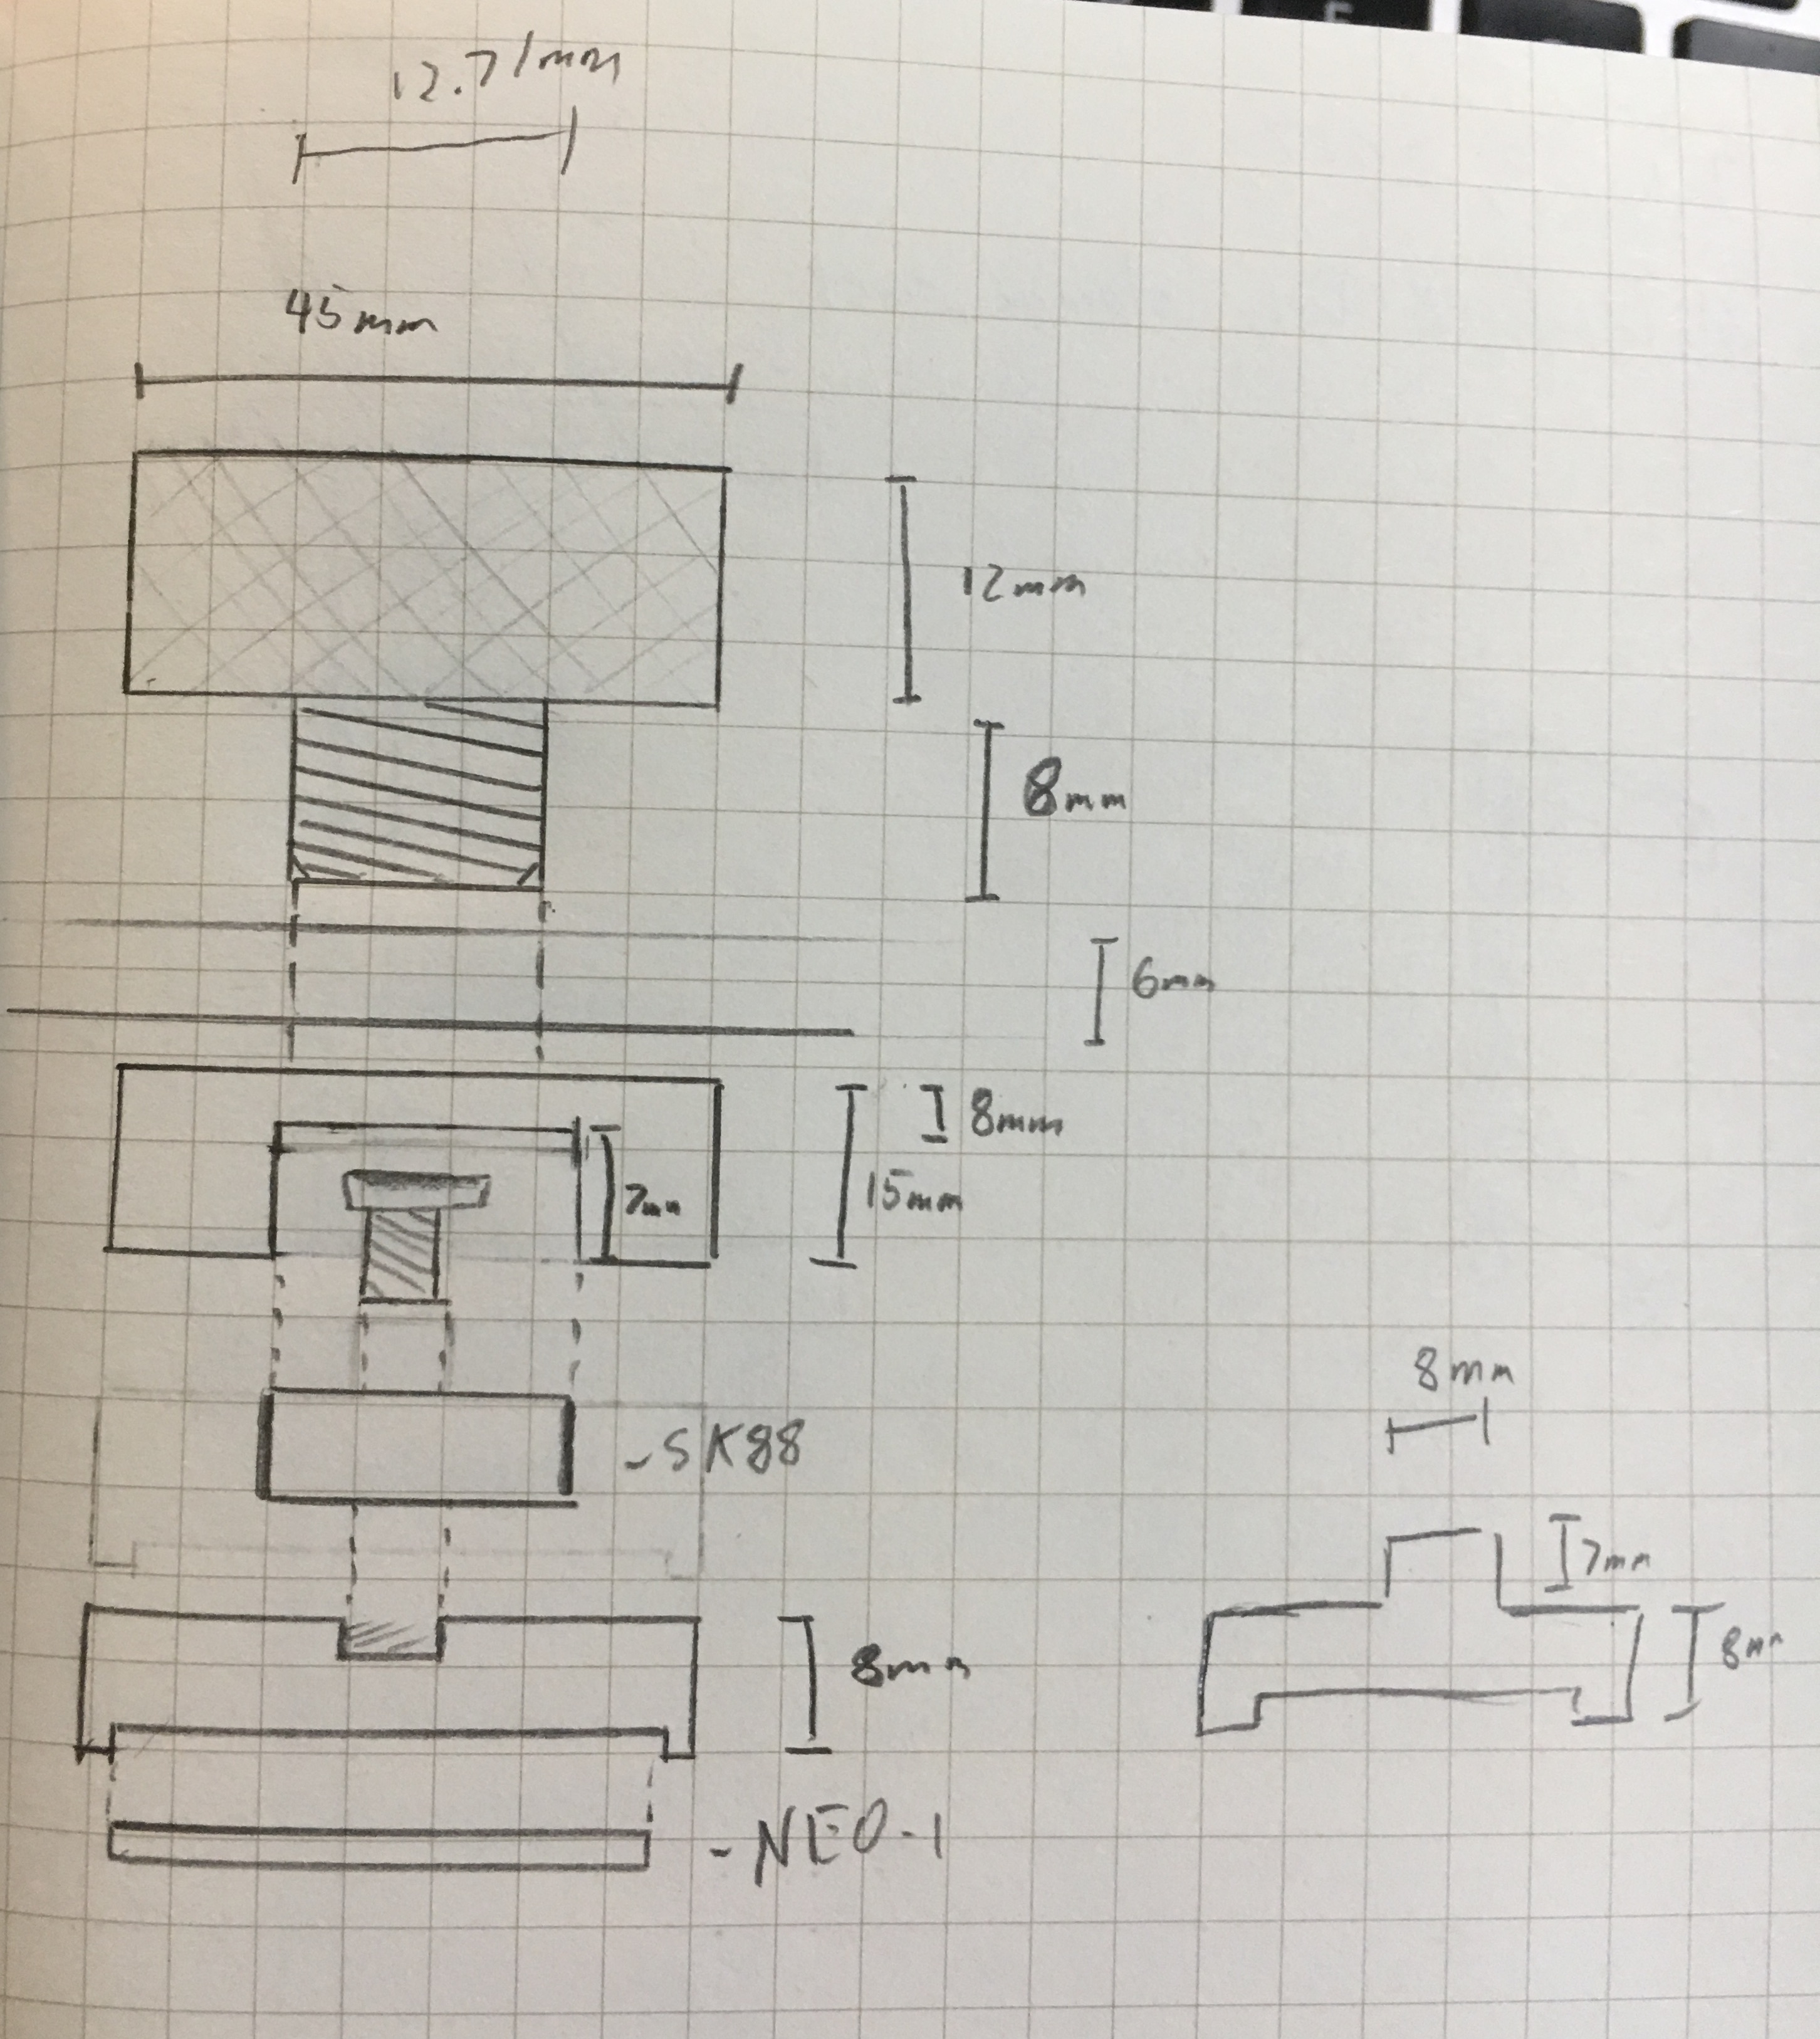
BoardBuddy is a project which has been sitting in the back of my workbench for months, and the back of my mind for even longer. The basic problem which it is trying to solve is drawing straight lines on magnetic white boards. With my involvement in my school’s robotics team, I have found it increasingly important to convey my ideas through concise drawings. However, I’m pretty bad at drawing straight lines, so I came up with the BoardBuddy. The general idea of the BoardBuddy is two magnetically attached points with a stiff meter stick connecting them. I then decided to add bearings on both ends, which could potentially allow the whole device to act as a compass.
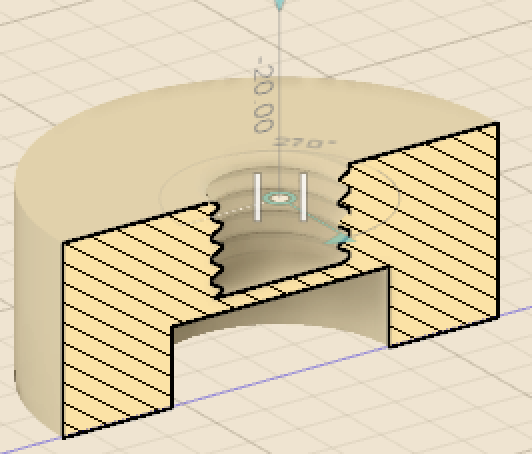
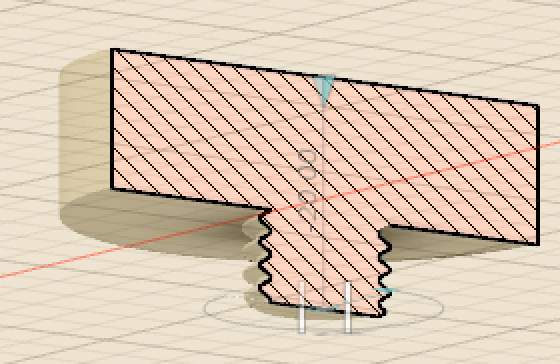
After I had mostly settled on a design, I went into Fusion 360, my CAD tool of choice because of its parametric design features as well as three year student free trial. I quickly modeled my designs as I had sketched out, with the small revision that I would be using friction fitting for the bearing as opposed to screws.
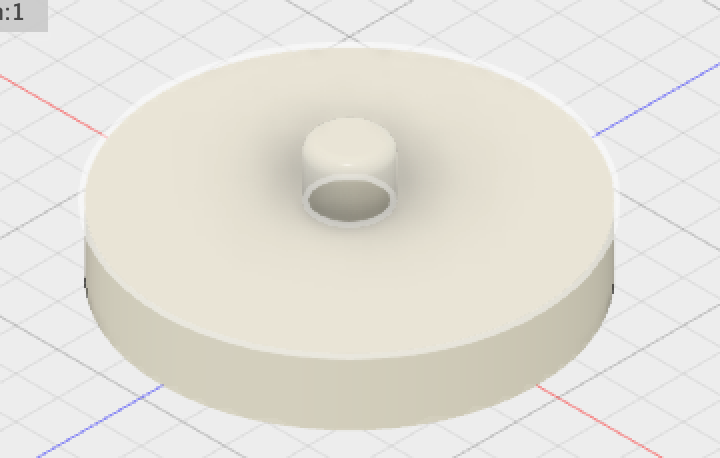
I moved on to printing. Although I did not well document the process, I went through about three or four revisions of each part in order to get the fit just right.

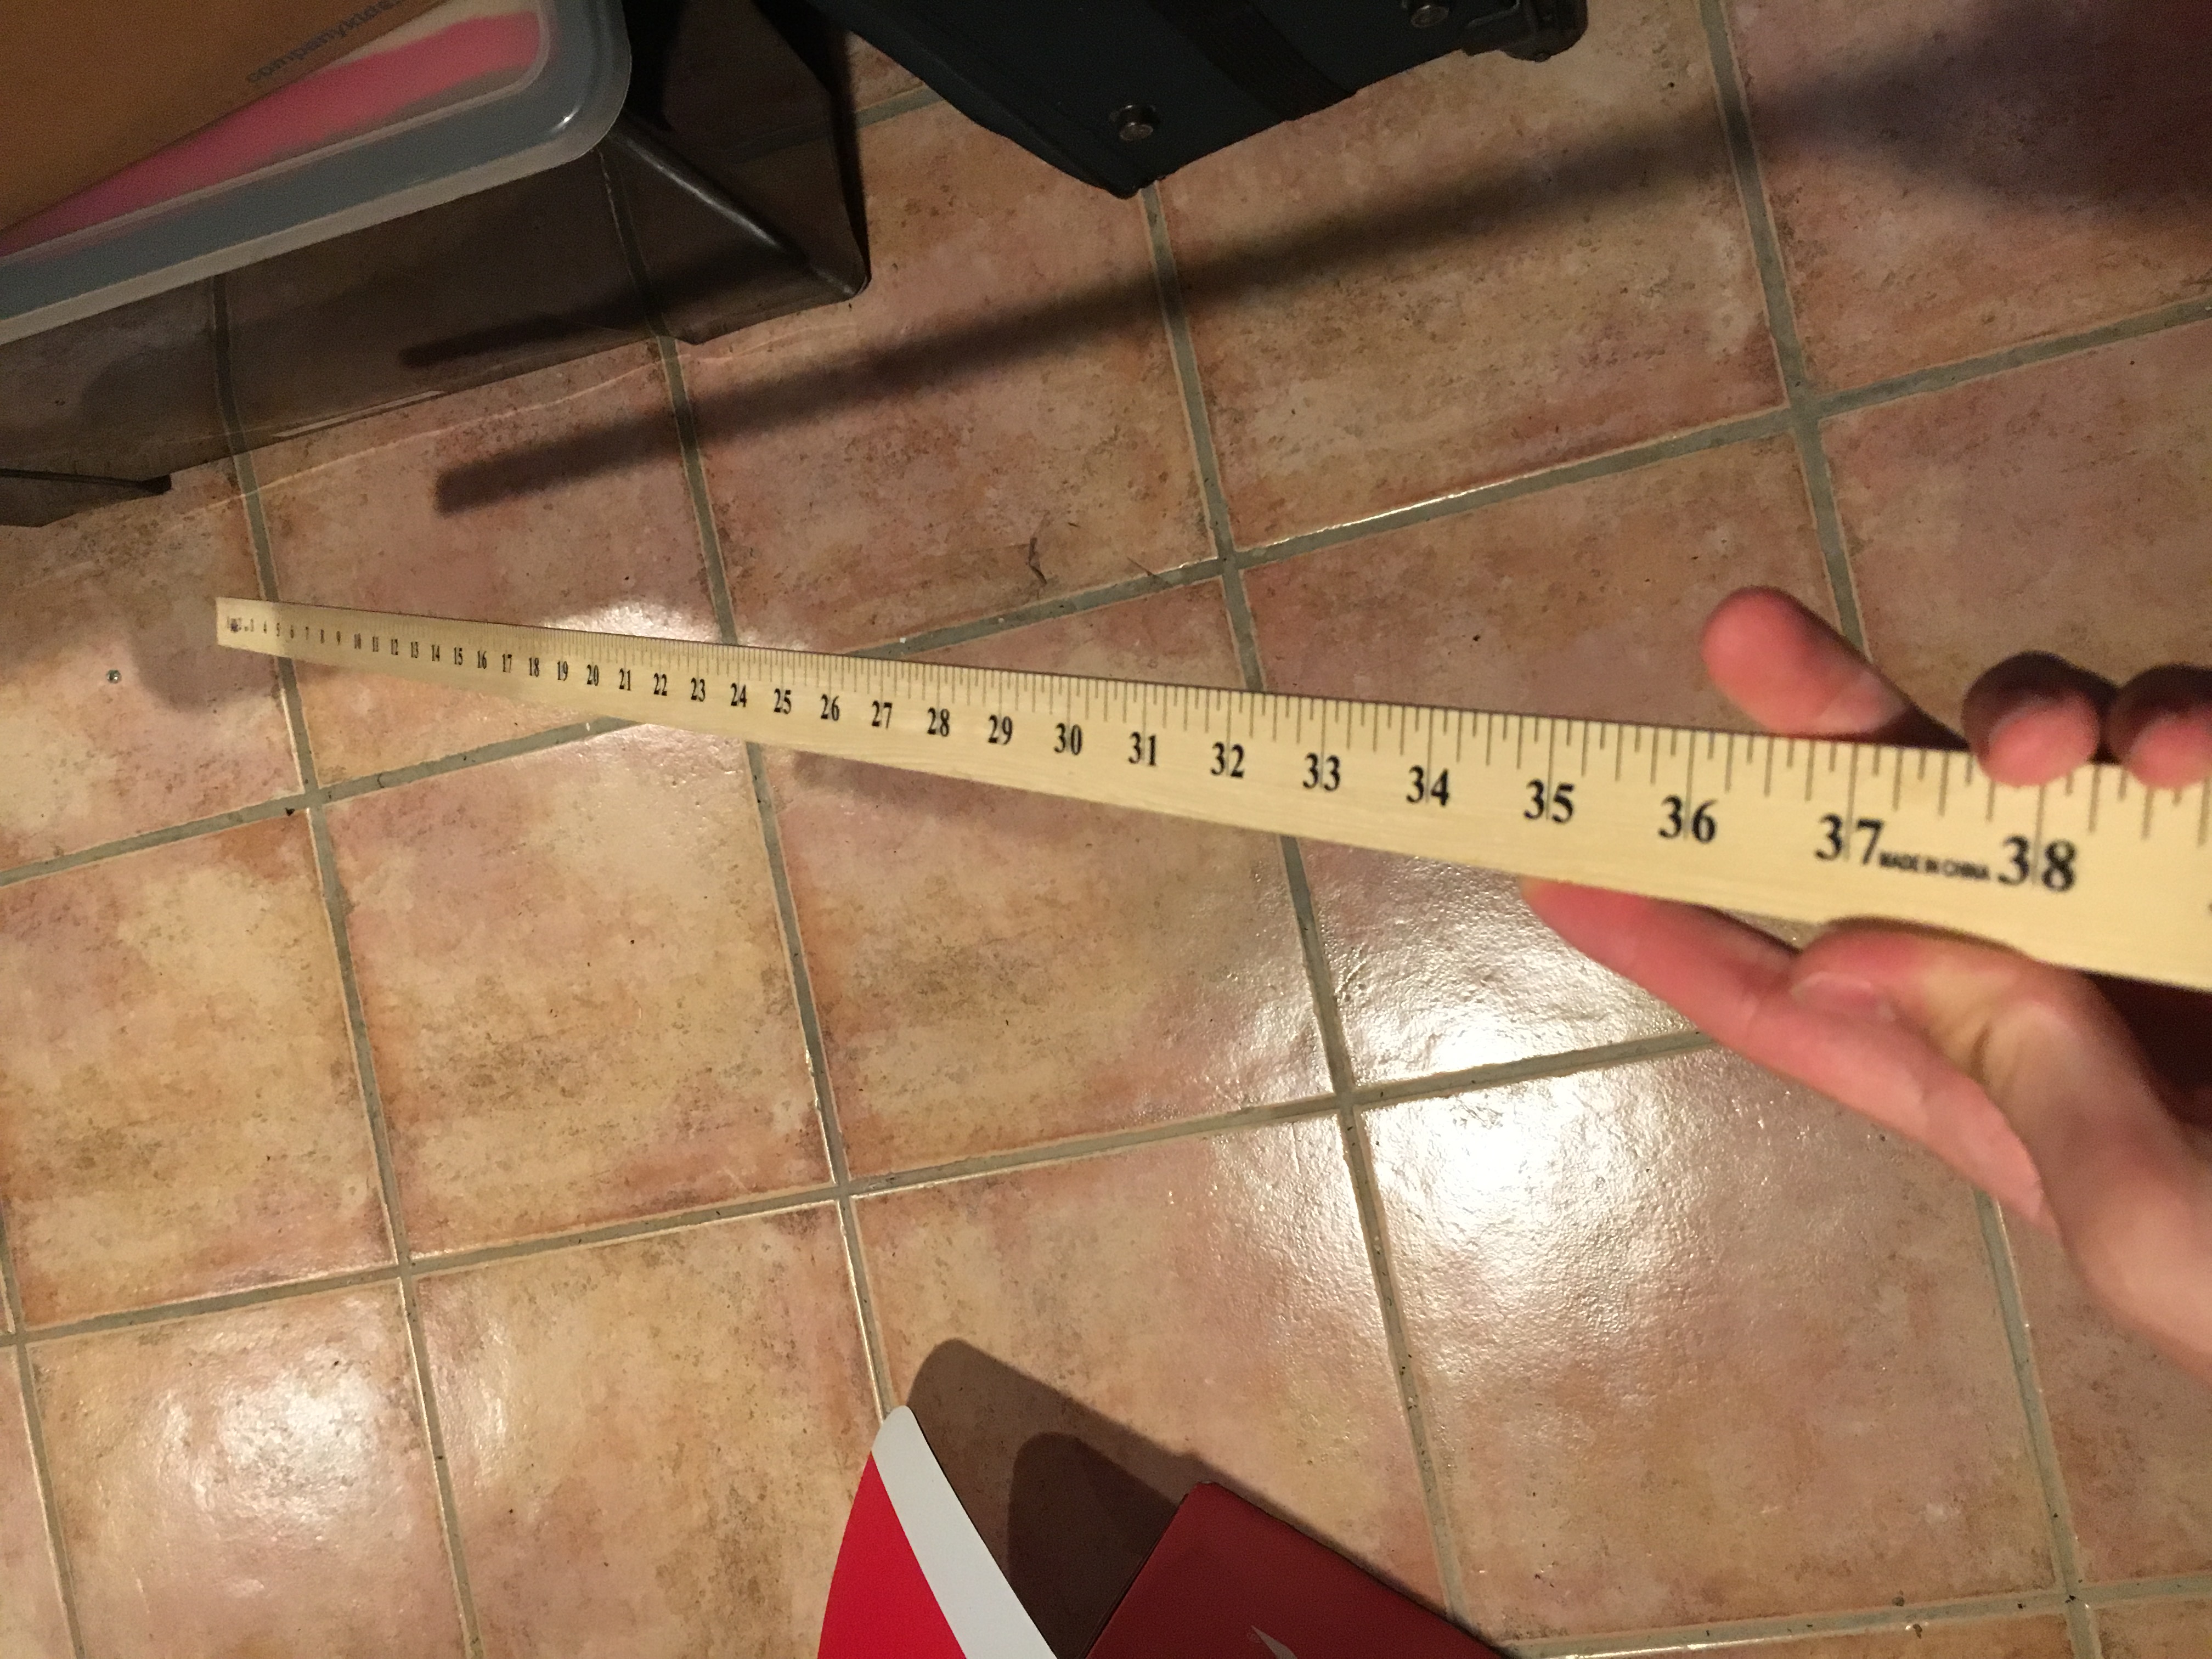
After completing the two points of rotation, I moved on to the meter stick itself. In my initial design, I had the meter stick with one long hole down the center of it. The idea behind this was that I would be able to adjust the position of the points of rotation. To be completely honest, I have no idea what my intention was there, but just have two defined points of rotation would seem to fulfill all of the functionality which my design goal required while not making the meter stick extremely flimsy.
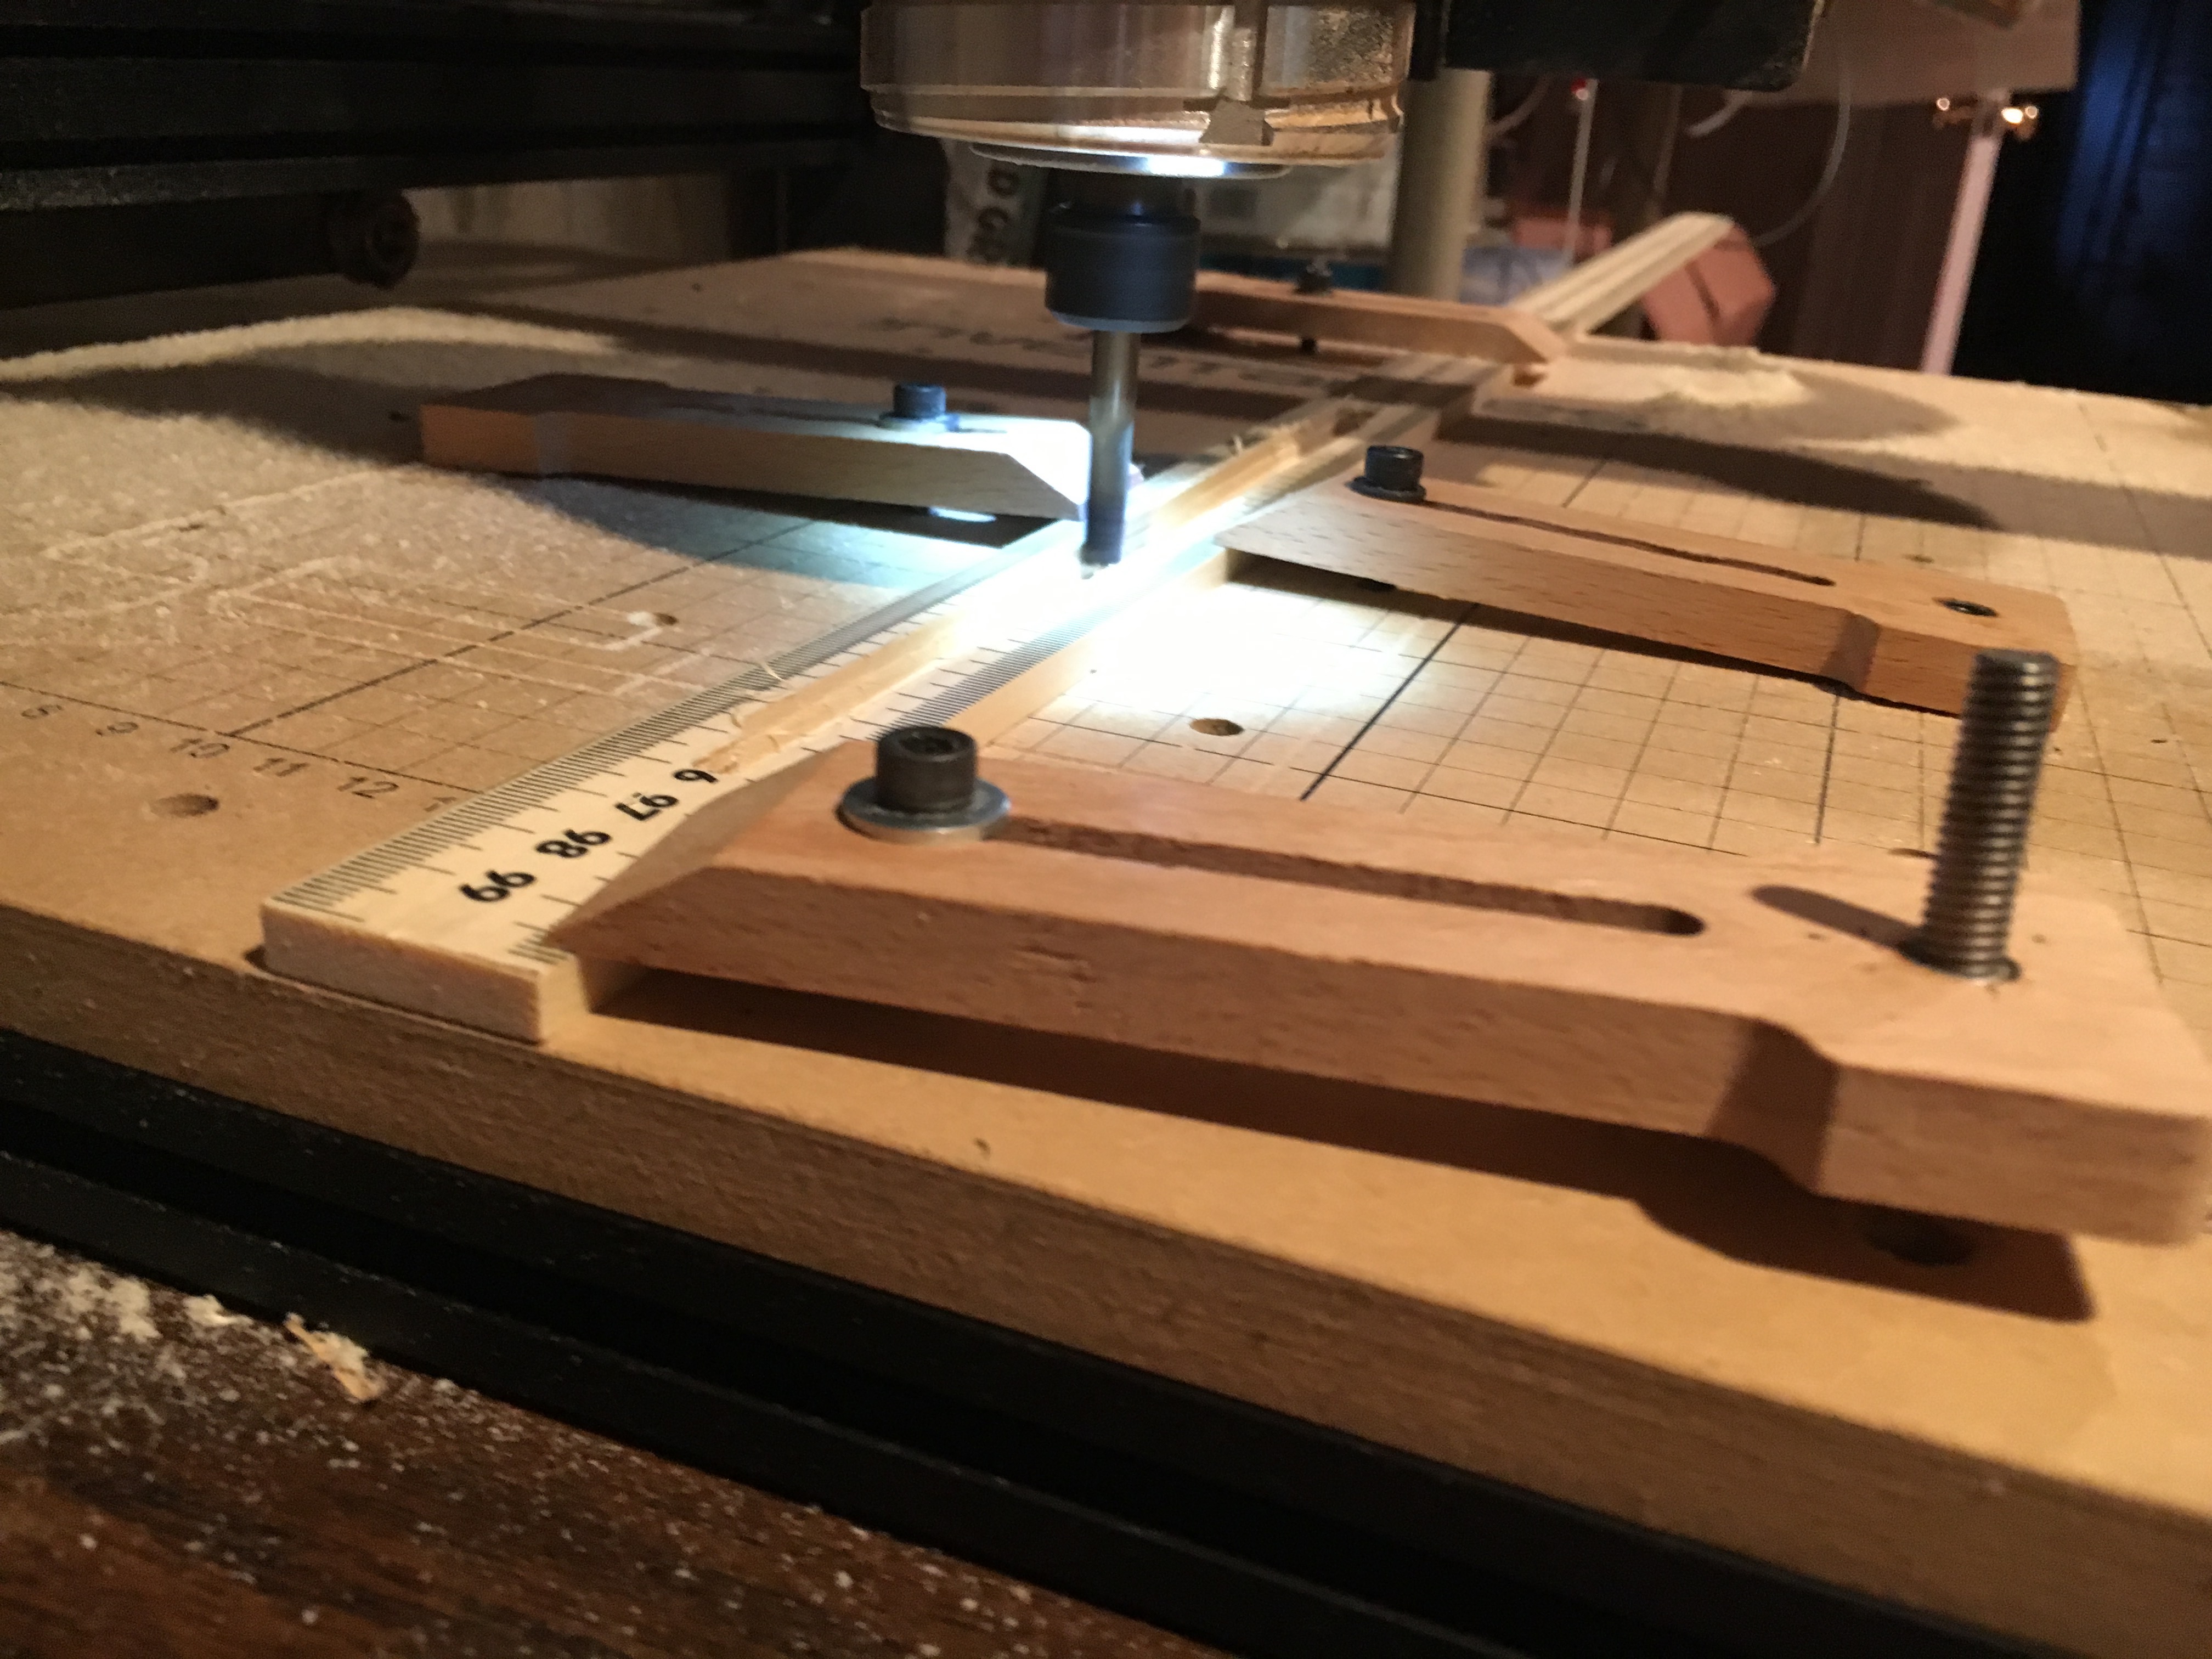 My attempts at milling before I realized there was no need
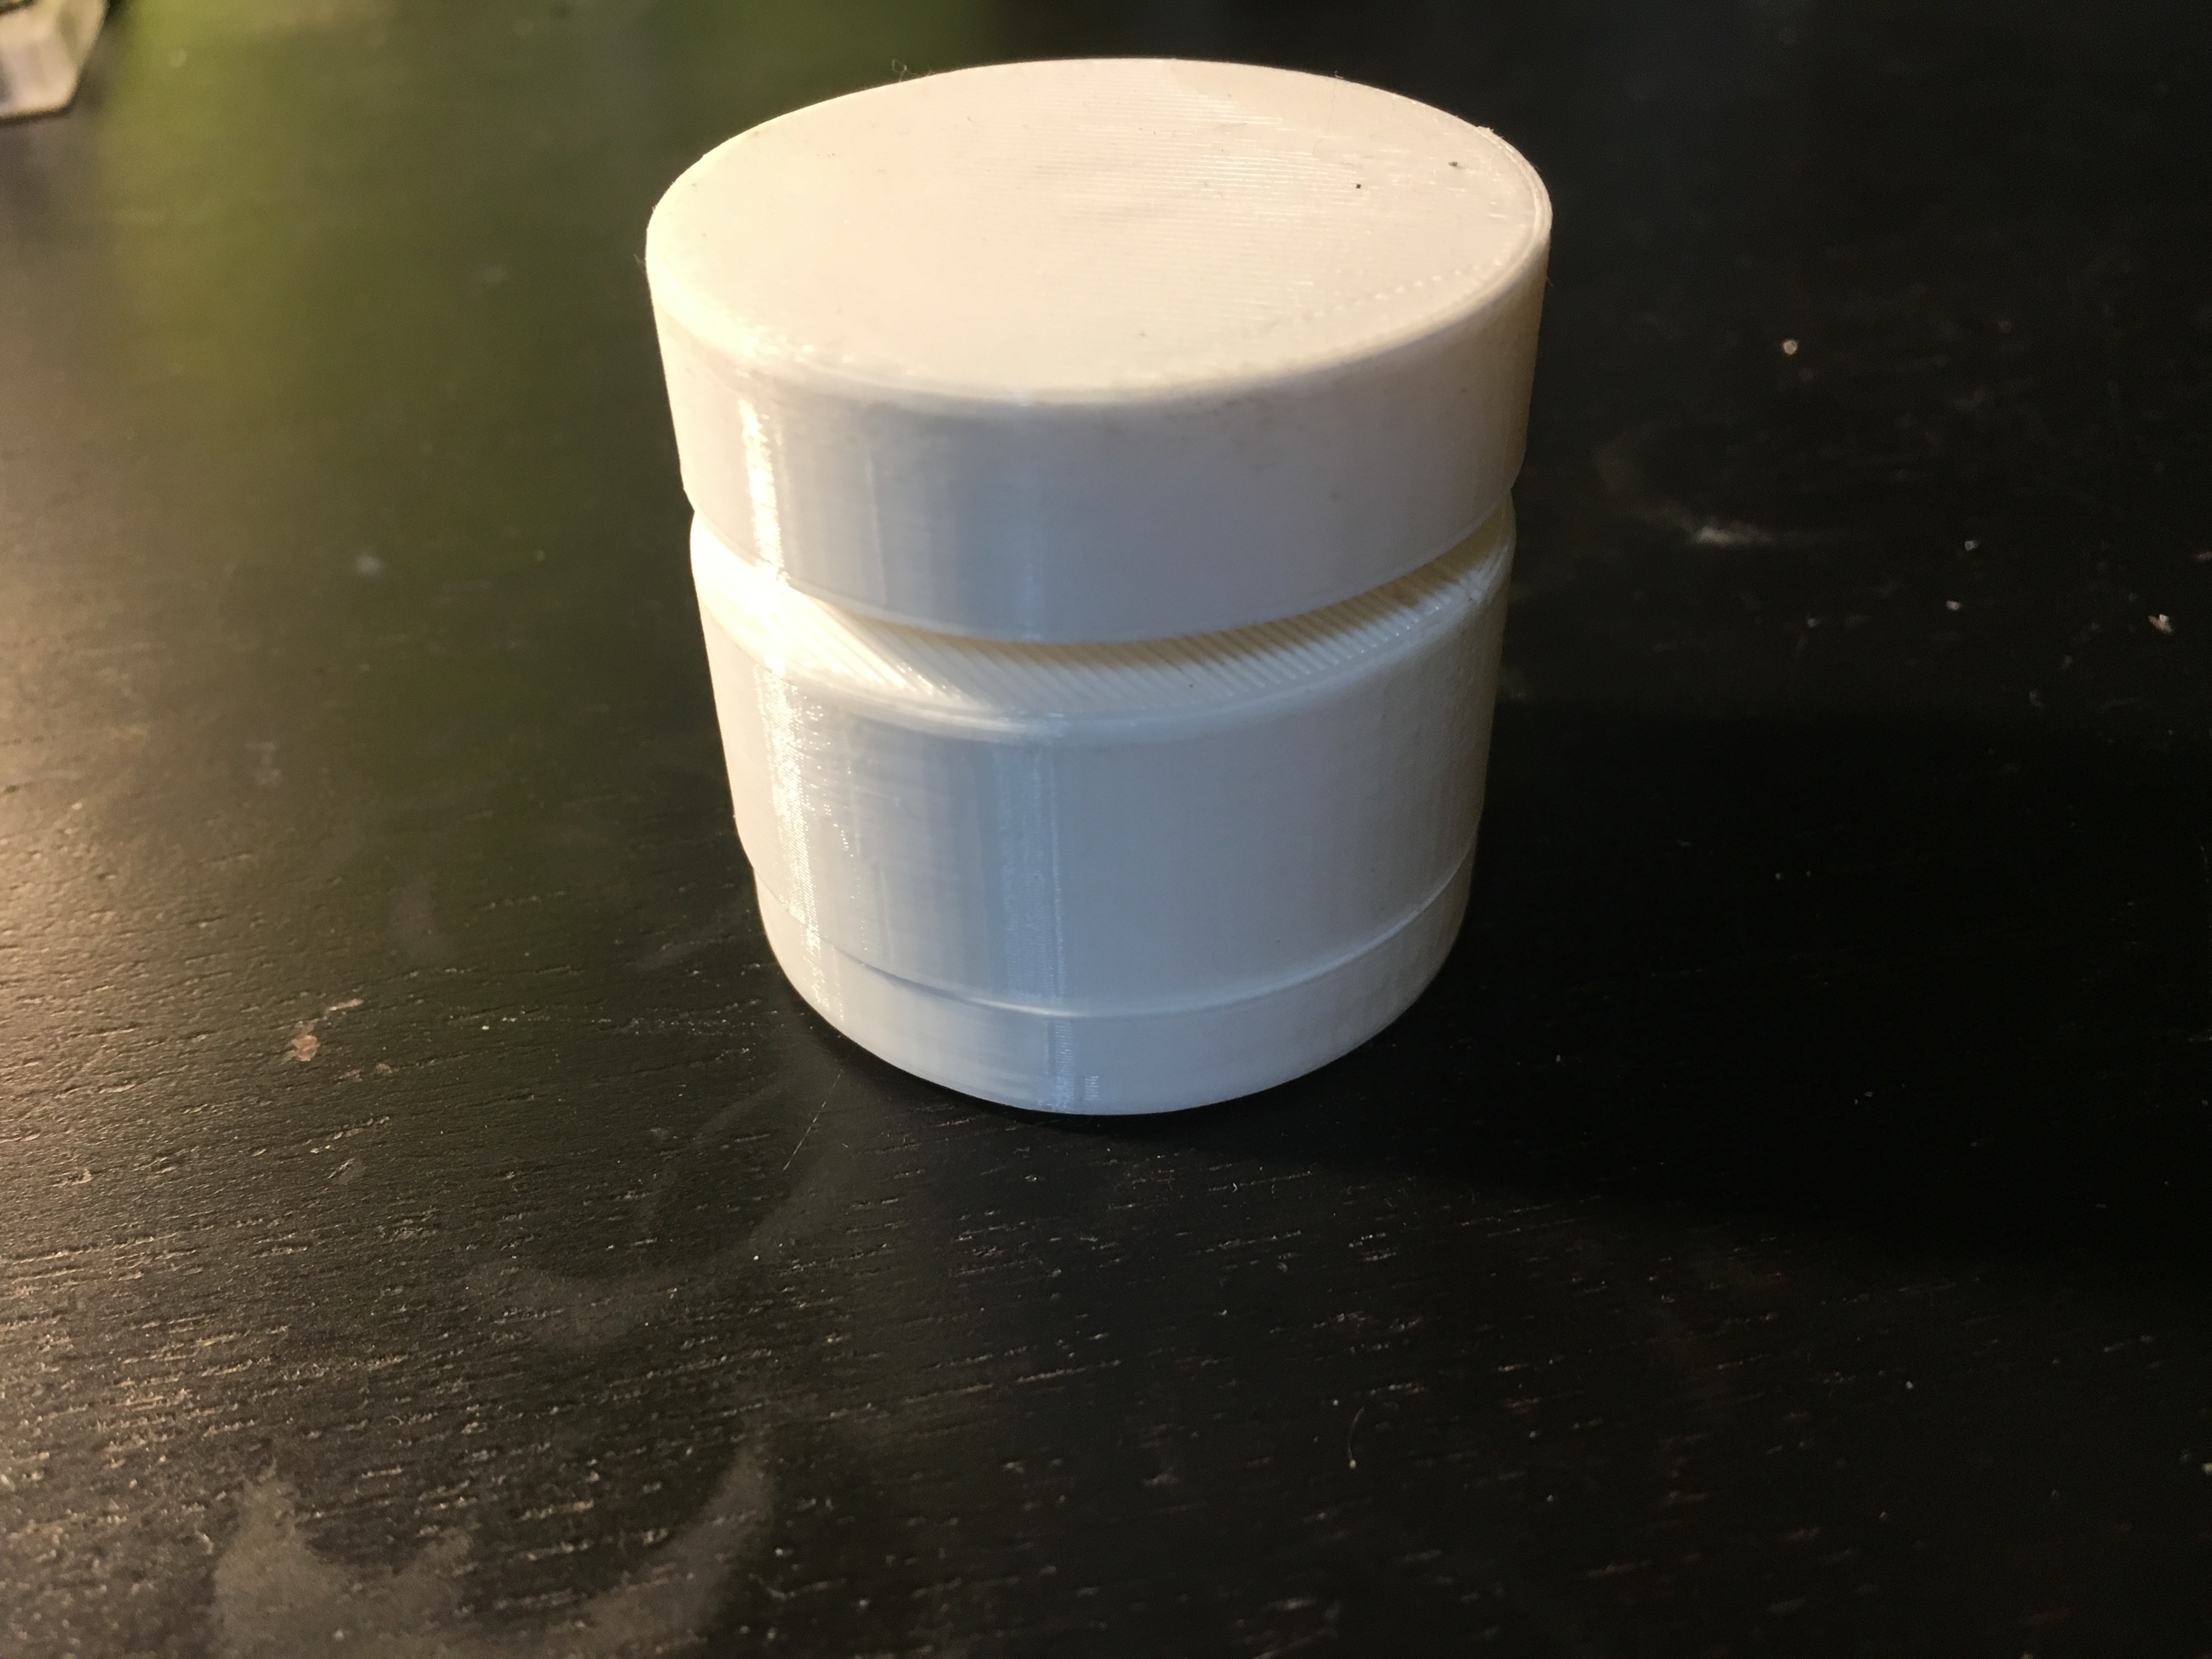
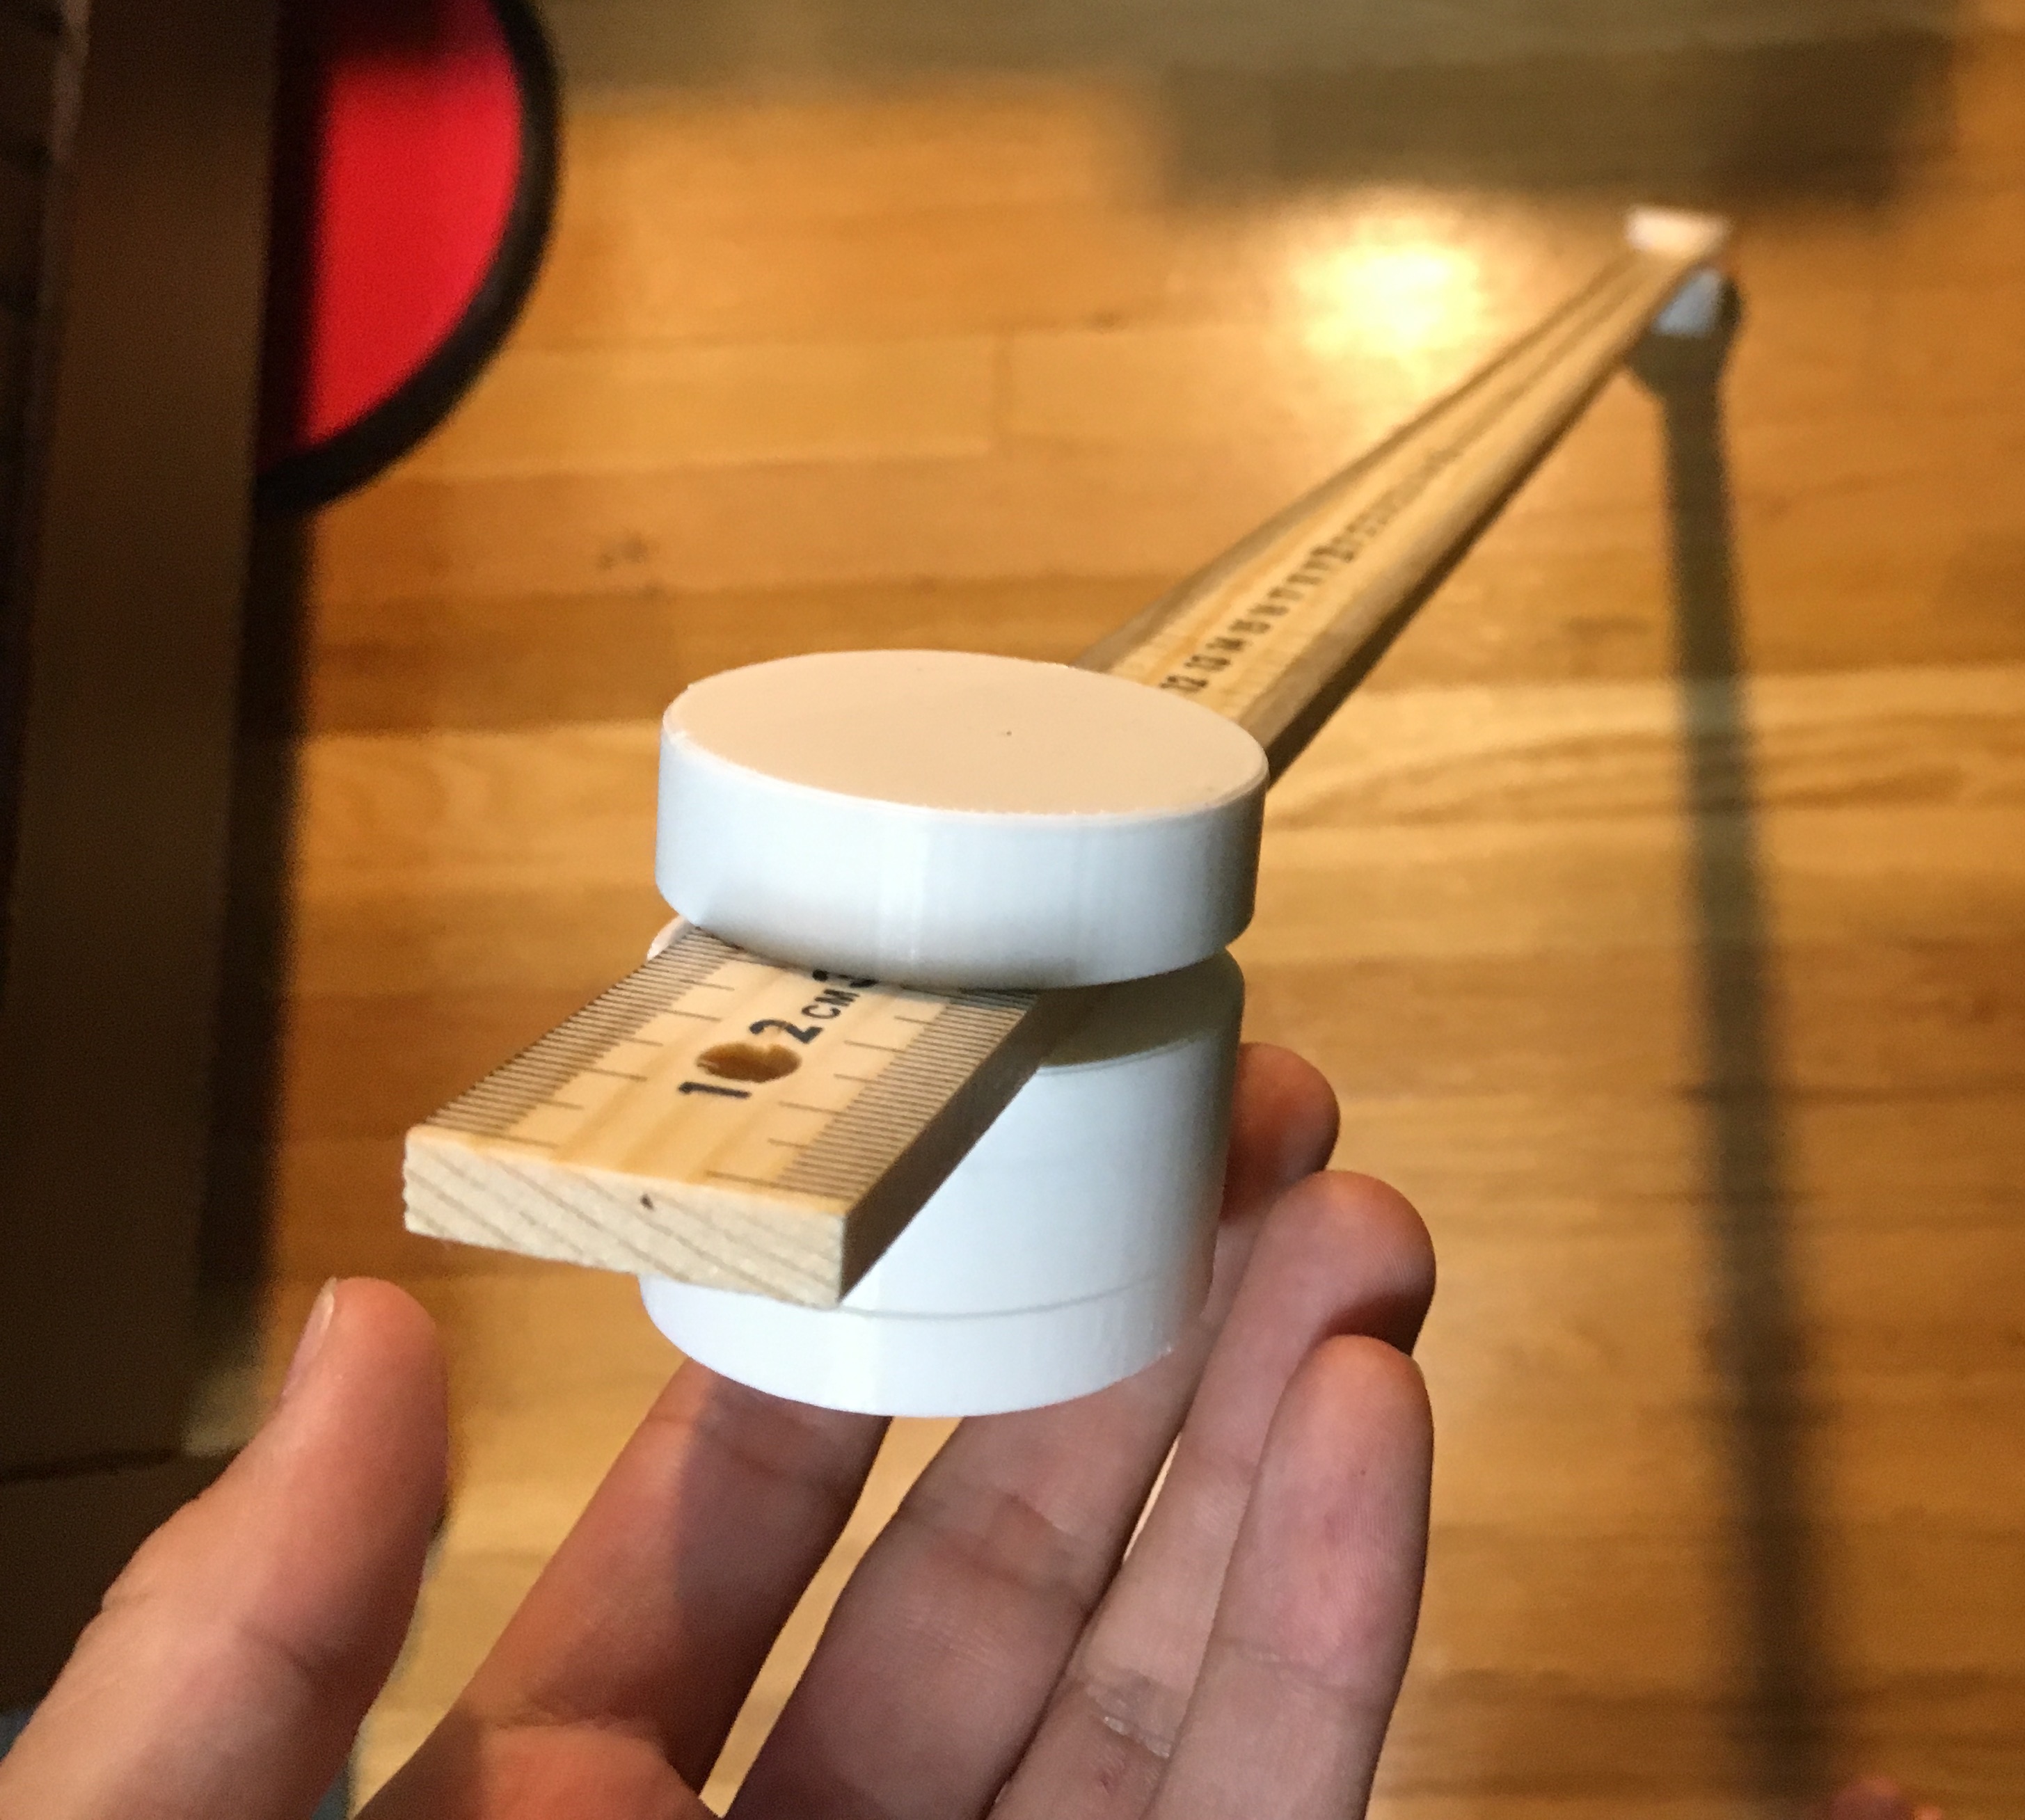
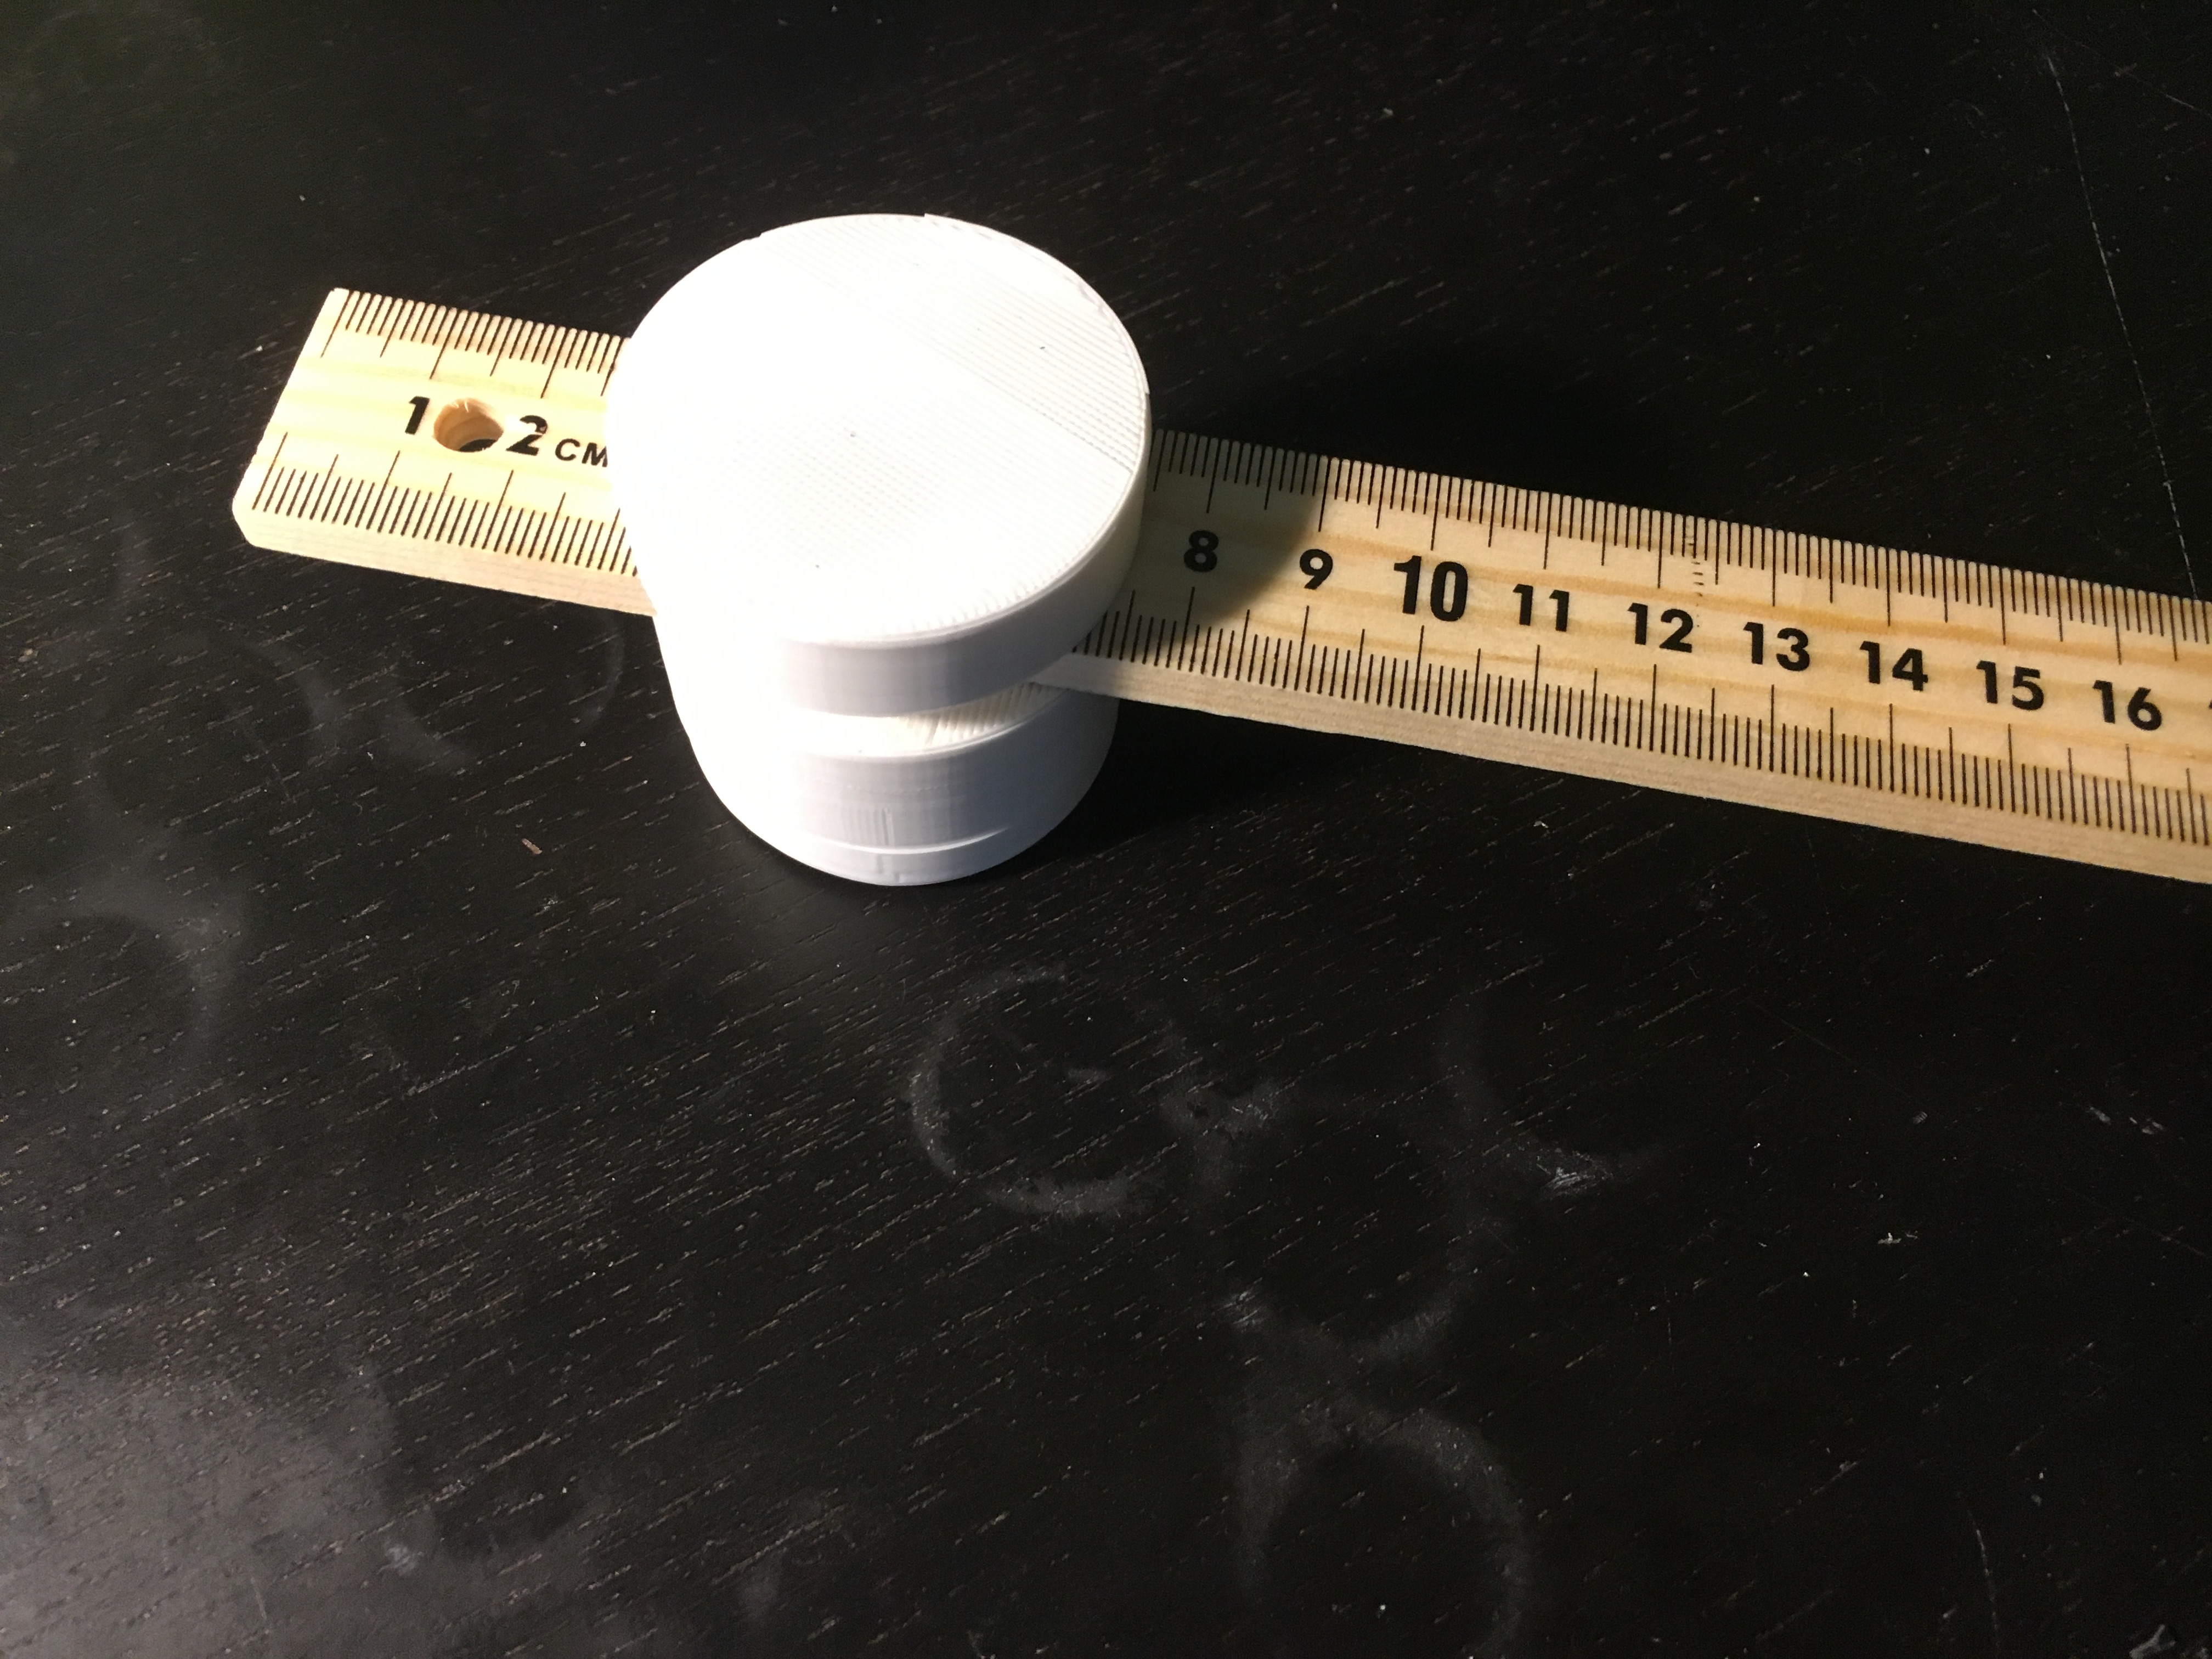
I then attempted to install the magnets. However, I ran into an interesting problem: I wanted the magnets to friction fit even while pulling away from a magnetic board while using 3d printed parts. Since printed parts are so unreliable in nature, I decided that best way would be to melt holes of the exact diameter of the magnets I was using. This idea was inspired by some brass inserts for m3 screws which I often use in my 3d printed parts. So, I turned a cylinder of brass of the same diameter of my magnets on the lathe. In order to remove some of the thermal capacitance, so that it would heat up more quickly, while still allowing some surface to hold, I hollowed out the part. This allowed me to heat up the brass part with a soldering iron and melt a hole of perfect, precise diameter for the magnets.
 The final BoardBuddy
In future revisions or in similar products, I would like to an adjustable marker holder for creating circles. However, this works for my purposes. Thanks for reading.